机器学习笔记1-k近邻算法的实现,跳槽薪资翻倍-程序员宅基地
distance = sqDistances**0.5
#将距离数组的下标按照距离大小排序
sortedDistIndicies = distance.argsort()
classCount = {}
#在k的范围内,分别计算两类的数目
for i in range(k):
voteIlabel = labels[sortedDistIndicies[i]]
classCount[voteIlabel] = classCount.get(voteIlabel,0)+1
#以k以内类别数目排序
sortedClassCount = sorted(classCount.items(),key=operator.itemgetter(1),
reverse = True)
#返回数目最多的类(即输入向量应该属于的类)
return sortedClassCount[0][0]
def test():
print(classify0([0.3,0.5],group,labels,2))
if __name__ == ‘__main__’:
group = numpy.array([[1.0,1.1],[1.0,1.0],[0,0],[0,0.1]])
labels = [‘A’,‘A’,‘B’,‘B’]
test()
其中几个不熟悉的函数:
shape:读取矩阵的长度,比如shape[0]:就是读取矩阵的一维长度
tile:形如tile(x,y)就是重复x,y次,例如;
>>> numpy.tile([1,1],10)
array([1, 1, 1, 1, 1, 1, 1, 1, 1, 1, 1, 1, 1, 1, 1, 1, 1, 1, 1, 1])
>>> numpy.tile([2,1],[2,3])
array([[2, 1, 2, 1, 2, 1],
[2, 1, 2, 1, 2, 1]])
sum(axis=1):在某一维度上相加:
>>> a = numpy.array([1,2])
>>> a.sum()
3
>>> a.sum(axis=1)
Traceback (most recent call last):
File “<pyshell#27>”, line 1, in
a.sum(axis=1)
File “F:\python3\lib\site-packages\numpy\core\_methods.py”, line 32, in _sum
return umr_sum(a, axis, dtype, out, keepdims)
ValueError: ‘axis’ entry is out of bounds
>>> numpy.array([[1,2,4],[2,4,5]]).sum(axis=1)
array([ 7, 11])
argsort():将数组的值的下标按值的由大到小的顺序排序
>>> a = numpy.array([8,6,7,9,10,5,7])
>>> a.argsort()
array([5, 1, 2, 6, 0, 3, 4], dtype=int32)
items():字典的值以列表的形式返回
itemgetter():用于返回对象那些维的数据
sorted():函数sorted(iterable[, cmp[, key[, reverse]]]),用于给列表排序,返回一个新的列表
iterable – 可迭代对象。
cmp – 比较的函数,这个具有两个参数,参数的值都是从可迭代对象中取出,此函数必须遵守的规则为,大于则返回1,小于则返回-1,等于则返回0。
key – 主要是用来进行比较的元素,只有一个参数,具体的函数的参数就是取自于可迭代对象中,指定可迭代对象中的一个元素来进行排序。
reverse – 排序规则,reverse = True 降序 , reverse = False 升序(默认)。
实例,根据玩视频游戏所耗时间百分比,每年获得的飞行常客里程数,每周的冰淇淋公升数来判断魅力值
1.解析数据,书中给出的数据存在一个问题,就是标签向量为一个字符串,需要将其转化成整形形式
def getValueOfClassLabel(ClassLabel):
val = 1;
if not ClassLabel in ValueOfClassLabel.keys():
ValueOfClassLabel[ClassLabel] = Value.pop()
return ValueOfClassLabel[ClassLabel]
解析文件的完整代码:
def file2matrix(filename):
‘’’
用于解析训练集文件
‘’’
ValueOfClassLabel = {}
Value = [1,2,3]
def getValueOfClassLabel(ClassLabel):
val = 1;
if not ClassLabel in ValueOfClassLabel.keys():
ValueOfClassLabel[ClassLabel] = Value.pop()
return ValueOfClassLabel[ClassLabel]
file = open(filename)
arrayOLines = file.readlines()
#文件的行数
numberOfLines = len(arrayOLines)
#返回创建的训练集
returnMat = numpy.zeros((numberOfLines,3))
classLabelVector = []
index = 0
for line in arrayOLines:
line = line.strip()
listFormLine = line.split(‘\t’)
returnMat[index,:] = listFormLine[0:3]
classLabelVector.append(getValueOfClassLabel(str(listFormLine[-1])))
index +=1
return returnMat,classLabelVector
通过上述程序可以将文件内容格式化成我们需要的训练集,标签向量,通过画图来直观的判断他们之间的关系
import numpy
import kNN
import matplotlib
import matplotlib.pyplot as plt
fig = plt.figure()
ax = fig.add_subplot(111)
datingDataMat,datingLabels = kNN.file2matrix(‘f:\\datingTestSet.txt’)
ax.scatter(datingDataMat[:,1],datingDataMat[:,2],
15.0*numpy.array(datingLabels),15.0*numpy.array(datingLabels))
plt.xlabel(‘Percentage of Time Spent Playing Video Games’)
plt.ylabel(‘Liters of Ice Cream Consumed Per Week’)
plt.show()
3D图:
import numpy
import kNN
import matplotlib
import matplotlib.pyplot as plt
from mpl_toolkits.mplot3d import Axes3D
fig = plt.figure()
ax = fig.add_subplot(111,projection=‘3d’)
datingDataMat,datingLabels = kNN.file2matrix(‘f:\\datingTestSet.txt’)
ax.scatter(datingDataMat[:,0],datingDataMat[:,1],datingDataMat[:,2],
15.0*numpy.array(datingLabels),15.0*numpy.array(datingLabels),15.0*numpy.array(datingLabels))
ax.set_xlabel(‘mei nian huo qu de fei xing chang ke li cheng shu’)
ax.set_ylabel(‘wan you xi shi jian bi li’)
ax.set_zlabel(‘mei zhou xiao hao de bing qi li shuliang’)
plt.show()
多图:
import numpy
import kNN
import matplotlib
import matplotlib.pyplot as plt
fig = plt.figure()
ax1 = fig.add_subplot(311)
datingDataMat,datingLabels = kNN.file2matrix(‘f:\\datingTestSet.txt’)
ax1.scatter(datingDataMat[:,0],datingDataMat[:,1],
15.0*numpy.array(datingLabels),15.0*numpy.array(datingLabels))
ax1.set_xlabel(‘fly’)
ax2 = fig.add_subplot(312)
ax2.scatter(datingDataMat[:,0],datingDataMat[:,2],
15.0*numpy.array(datingLabels),15.0*numpy.array(datingLabels))
ax2 = fig.add_subplot(313)
ax2.scatter(datingDataMat[:,1],datingDataMat[:,2],
15.0*numpy.array(datingLabels),15.0*numpy.array(datingLabels))
plt.show()
不熟悉的函数:
add_subplot:用于指定图像的位置,例如111,指图像分成一行一列,在第一幅图上画
scatter:画散点图,必须输入的有x,y坐标,可选项有颜色形状等
zero:创建0矩阵
归一化:
处理不同取值范围的特征值时,通常需要将数值未硬化,如果将取值范围处理为0到1或者-1到1之间,下面公式可以将任意取值范围的特征值转化为0到1的区间内
newValue = (oldValue-min)/(max-min)
min,max分别是数据集中特征值最大值和最小值,程序如下
def autoNum(dataSet):
#获取每一列的最小值
minVals = dataSet.min(0)
#获取每一列的最大值
maxVals = dataSet.max(0)
#最大值和最小值的差
ranges = maxVals - minVals
#将每一行归一化
normDataSet = numpy.zeros(numpy.shape(dataSet))
m = dataSet.shape[0]
normDataSet = dataSet - numpy.tile(minVals,(m,1))
normDataSet = normDataSet/numpy.tile(ranges,(m,1))
return normDataSet,ranges,minVals
容易搞错的是min(0)返回的是每一列的最小值,而不是第0列的最小值,min()返回的是所有值的最小值,min(1)返回的是每一行的最小值
测试程序:
def datingClassTest():
‘’’
用于测试分类器
‘’’
hoRatio = 0.10
datingDataMating,datingLabels = file2matrix(‘f:\\datingTestSet.txt’)
normMat,ranges,minVals = autoNum(datingDataMating)
m = normMat.shape[0]
numTestVecs = int(m*hoRatio)
errorCount = 0.0
for i in range(numTestVecs):
classifierResult = classify0(normMat[i,:],normMat[numTestVecs:m,:],
datingLabels[numTestVecs:m],3)
print(‘the classifier came back with: %d,the real answer is:%d’%
(classifierResult,datingLabels[i]))
if(classifierResult != datingLabels[i]):errorCount += 1.0
print(‘the total error rate is:%f’%(errorCount/float(numTestVecs)))
测试结果:
the classifier came back with: 3,the real answer is:3
the classifier came back with: 2,the real answer is:2
the classifier came back with: 1,the real answer is:1
the classifier came back with: 1,the real answer is:1
the classifier came back with: 1,the real answer is:1
the classifier came back with: 1,the real answer is:1
the classifier came back with: 3,the real answer is:3
the classifier came back with: 3,the real answer is:3
the classifier came back with: 1,the real answer is:1
the classifier came back with: 3,the real answer is:3
the classifier came back with: 1,the real answer is:1
the classifier came back with: 1,the real answer is:1
the classifier came back with: 2,the real answer is:2
the classifier came back with: 1,the real answer is:1
the classifier came back with: 1,the real answer is:1
the classifier came back with: 1,the real answer is:1
the classifier came back with: 1,the real answer is:1
the classifier came back with: 1,the real answer is:1
the classifier came back with: 2,the real answer is:2
the classifier came back with: 3,the real answer is:3
the classifier came back with: 2,the real answer is:2
the classifier came back with: 1,the real answer is:1
the classifier came back with: 3,the real answer is:2
the classifier came back with: 3,the real answer is:3
the classifier came back with: 2,the real answer is:2
the classifier came back with: 3,the real answer is:3
the classifier came back with: 2,the real answer is:2
the classifier came back with: 3,the real answer is:3
the classifier came back with: 2,the real answer is:2
the classifier came back with: 1,the real answer is:1
最后
Python崛起并且风靡,因为优点多、应用领域广、被大牛们认可。学习 Python 门槛很低,但它的晋级路线很多,通过它你能进入机器学习、数据挖掘、大数据,CS等更加高级的领域。Python可以做网络应用,可以做科学计算,数据分析,可以做网络爬虫,可以做机器学习、自然语言处理、可以写游戏、可以做桌面应用…Python可以做的很多,你需要学好基础,再选择明确的方向。这里给大家分享一份全套的 Python 学习资料,给那些想学习 Python 的小伙伴们一点帮助!
Python所有方向的学习路线
Python所有方向的技术点做的整理,形成各个领域的知识点汇总,它的用处就在于,你可以按照上面的知识点去找对应的学习资源,保证自己学得较为全面。
Python必备开发工具
工欲善其事必先利其器。学习Python常用的开发软件都在这里了,给大家节省了很多时间。
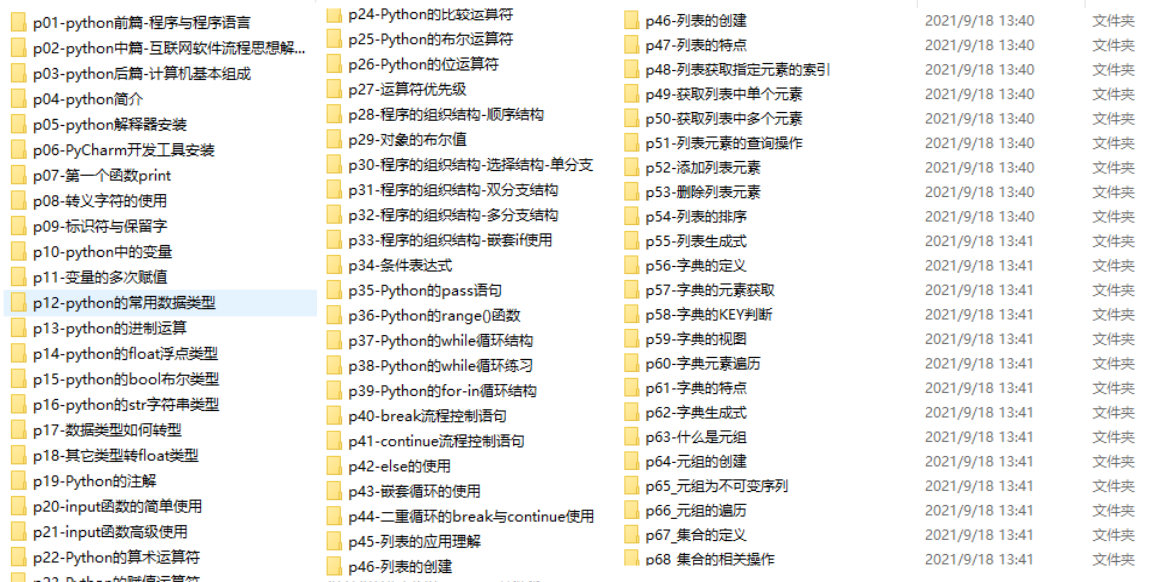
Python全套学习视频
我们在看视频学习的时候,不能光动眼动脑不动手,比较科学的学习方法是在理解之后运用它们,这时候练手项目就很适合了。
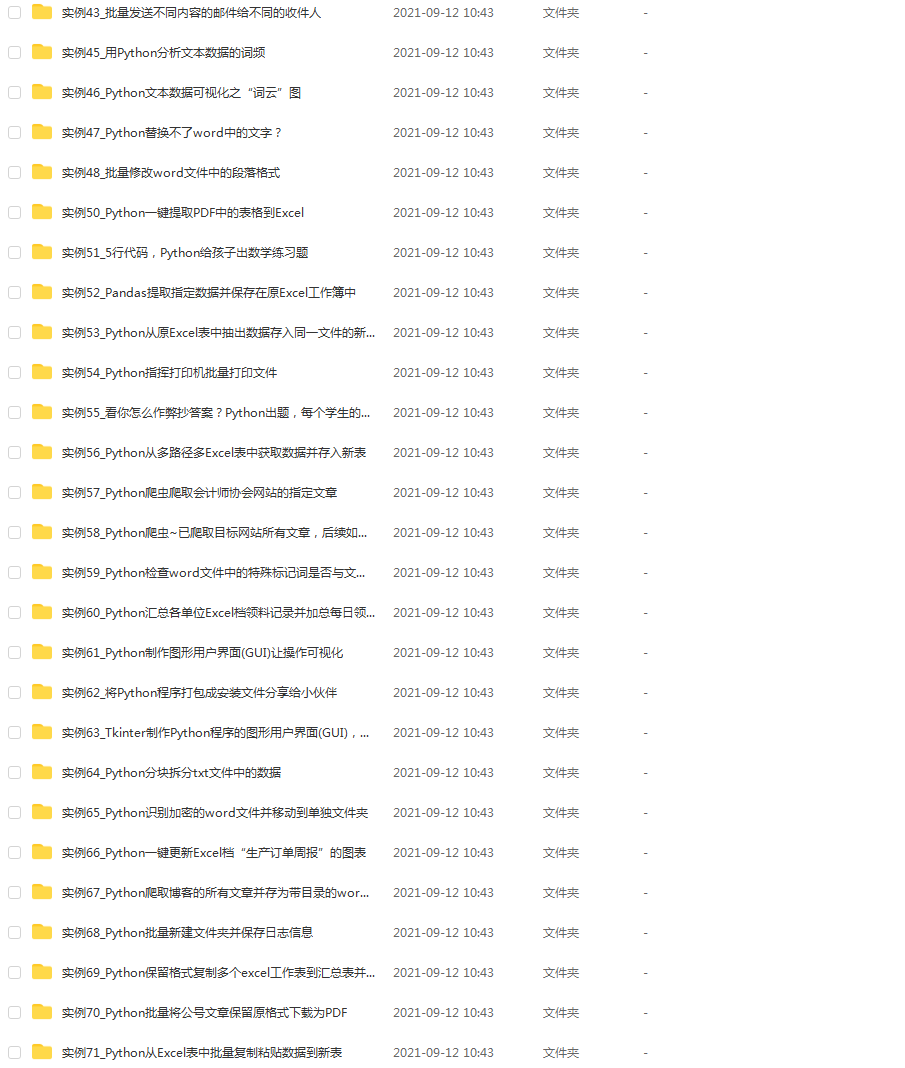
实战案例
学python就与学数学一样,是不能只看书不做题的,直接看步骤和答案会让人误以为自己全都掌握了,但是碰到生题的时候还是会一筹莫展。
因此在学习python的过程中一定要记得多动手写代码,教程只需要看一两遍即可。
大厂面试真题
我们学习Python必然是为了找到高薪的工作,下面这些面试题是来自阿里、腾讯、字节等一线互联网大厂最新的面试资料,并且有阿里大佬给出了权威的解答,刷完这一套面试资料相信大家都能找到满意的工作。

小编13年上海交大毕业,曾经在小公司待过,也去过华为、OPPO等大厂,18年进入阿里一直到现在。
深知大多数初中级Python工程师,想要提升技能,往往是自己摸索成长或者是报班学习,但自己不成体系的自学效果低效又漫长,而且极易碰到天花板技术停滞不前!
因此收集整理了一份《2024年Python爬虫全套学习资料》送给大家,初衷也很简单,就是希望能够帮助到想自学提升又不知道该从何学起的朋友,同时减轻大家的负担。
由于文件比较大,这里只是将部分目录截图出来,每个节点里面都包含大厂面经、学习笔记、源码讲义、实战项目、讲解视频
如果你觉得这些内容对你有帮助,可以添加下面V无偿领取!(备注:python)

都能找到满意的工作。
小编13年上海交大毕业,曾经在小公司待过,也去过华为、OPPO等大厂,18年进入阿里一直到现在。
深知大多数初中级Python工程师,想要提升技能,往往是自己摸索成长或者是报班学习,但自己不成体系的自学效果低效又漫长,而且极易碰到天花板技术停滞不前!
因此收集整理了一份《2024年Python爬虫全套学习资料》送给大家,初衷也很简单,就是希望能够帮助到想自学提升又不知道该从何学起的朋友,同时减轻大家的负担。
由于文件比较大,这里只是将部分目录截图出来,每个节点里面都包含大厂面经、学习笔记、源码讲义、实战项目、讲解视频
如果你觉得这些内容对你有帮助,可以添加下面V无偿领取!(备注:python)
[外链图片转存中…(img-lBNTqRKK-1710943429059)]
智能推荐
51单片机的中断系统_51单片机中断篇-程序员宅基地
文章浏览阅读3.3k次,点赞7次,收藏39次。CPU 执行现行程序的过程中,出现某些急需处理的异常情况或特殊请求,CPU暂时中止现行程序,而转去对异常情况或特殊请求进行处理,处理完毕后再返回现行程序断点处,继续执行原程序。void 函数名(void) interrupt n using m {中断函数内容 //尽量精简 }编译器会把该函数转化为中断函数,表示中断源编号为n,中断源对应一个中断入口地址,而中断入口地址的内容为跳转指令,转入本函数。using m用于指定本函数内部使用的工作寄存器组,m取值为0~3。该修饰符可省略,由编译器自动分配。_51单片机中断篇
oracle项目经验求职,网络工程师简历中的项目经验怎么写-程序员宅基地
文章浏览阅读396次。项目经验(案例一)项目时间:2009-10 - 2009-12项目名称:中驰别克信息化管理整改完善项目描述:项目介绍一,建立中驰别克硬件档案(PC,服务器,网络设备,办公设备等)二,建立中驰别克软件档案(每台PC安装的软件,财务,HR,OA,专用系统等)三,能过建立的档案对中驰别克信息化办公环境优化(合理使用ADSL宽带资源,对域进行调整,对文件服务器进行优化,对共享打印机进行调整)四,优化完成后..._网络工程师项目经历
LVS四层负载均衡集群-程序员宅基地
文章浏览阅读1k次,点赞31次,收藏30次。LVS:Linux Virtual Server,负载调度器,内核集成, 阿里的四层SLB(Server Load Balance)是基于LVS+keepalived实现。NATTUNDR优点端口转换WAN性能最好缺点性能瓶颈服务器支持隧道模式不支持跨网段真实服务器要求anyTunneling支持网络private(私网)LAN/WAN(私网/公网)LAN(私网)真实服务器数量High (100)High (100)真实服务器网关lvs内网地址。
「技术综述」一文道尽传统图像降噪方法_噪声很大的图片可以降噪吗-程序员宅基地
文章浏览阅读899次。https://www.toutiao.com/a6713171323893318151/作者 | 黄小邪/言有三编辑 | 黄小邪/言有三图像预处理算法的好坏直接关系到后续图像处理的效果,如图像分割、目标识别、边缘提取等,为了获取高质量的数字图像,很多时候都需要对图像进行降噪处理,尽可能的保持原始信息完整性(即主要特征)的同时,又能够去除信号中无用的信息。并且,降噪还引出了一..._噪声很大的图片可以降噪吗
Effective Java 【对于所有对象都通用的方法】第13条 谨慎地覆盖clone_为继承设计类有两种选择,但无论选择其中的-程序员宅基地
文章浏览阅读152次。目录谨慎地覆盖cloneCloneable接口并没有包含任何方法,那么它到底有什么作用呢?Object类中的clone()方法如何重写好一个clone()方法1.对于数组类型我可以采用clone()方法的递归2.如果对象是非数组,建议提供拷贝构造器(copy constructor)或者拷贝工厂(copy factory)3.如果为线程安全的类重写clone()方法4.如果为需要被继承的类重写clone()方法总结谨慎地覆盖cloneCloneable接口地目的是作为对象的一个mixin接口(详见第20_为继承设计类有两种选择,但无论选择其中的
毕业设计 基于协同过滤的电影推荐系统-程序员宅基地
文章浏览阅读958次,点赞21次,收藏24次。今天学长向大家分享一个毕业设计项目基于协同过滤的电影推荐系统项目运行效果:项目获取:https://gitee.com/assistant-a/project-sharing21世纪是信息化时代,随着信息技术和网络技术的发展,信息化已经渗透到人们日常生活的各个方面,人们可以随时随地浏览到海量信息,但是这些大量信息千差万别,需要费事费力的筛选、甄别自己喜欢或者感兴趣的数据。对网络电影服务来说,需要用到优秀的协同过滤推荐功能去辅助整个系统。系统基于Python技术,使用UML建模,采用Django框架组合进行设
随便推点
你想要的10G SFP+光模块大全都在这里-程序员宅基地
文章浏览阅读614次。10G SFP+光模块被广泛应用于10G以太网中,在下一代移动网络、固定接入网、城域网、以及数据中心等领域非常常见。下面易天光通信(ETU-LINK)就为大家一一盘点下10G SFP+光模块都有哪些吧。一、10G SFP+双纤光模块10G SFP+双纤光模块是一种常规的光模块,有两个LC光纤接口,传输距离最远可达100公里,常用的10G SFP+双纤光模块有10G SFP+ SR、10G SFP+ LR,其中10G SFP+ SR的传输距离为300米,10G SFP+ LR的传输距离为10公里。_10g sfp+
计算机毕业设计Node.js+Vue基于Web美食网站设计(程序+源码+LW+部署)_基于vue美食网站源码-程序员宅基地
文章浏览阅读239次。该项目含有源码、文档、程序、数据库、配套开发软件、软件安装教程。欢迎交流项目运行环境配置:项目技术:Express框架 + Node.js+ Vue 等等组成,B/S模式 +Vscode管理+前后端分离等等。环境需要1.运行环境:最好是Nodejs最新版,我们在这个版本上开发的。其他版本理论上也可以。2.开发环境:Vscode或HbuilderX都可以。推荐HbuilderX;3.mysql环境:建议是用5.7版本均可4.硬件环境:windows 7/8/10 1G内存以上;_基于vue美食网站源码
oldwain随便写@hexun-程序员宅基地
文章浏览阅读62次。oldwain随便写@hexun链接:http://oldwain.blog.hexun.com/ ...
渗透测试-SQL注入-SQLMap工具_sqlmap拖库-程序员宅基地
文章浏览阅读843次,点赞16次,收藏22次。用这个工具扫描其它网站时,要注意法律问题,同时也比较慢,所以我们以之前写的登录页面为例子扫描。_sqlmap拖库
origin三图合一_神教程:Origin也能玩转图片拼接组合排版-程序员宅基地
文章浏览阅读1.5w次,点赞5次,收藏38次。Origin也能玩转图片的拼接组合排版谭编(华南师范大学学报编辑部,广州 510631)通常,我们利用Origin软件能非常快捷地绘制出一张单独的绘图。但是,我们在论文的撰写过程中,经常需要将多种科学实验图片(电镜图、示意图、曲线图等)组合在一张图片中。大多数人都是采用PPT、Adobe Illustrator、CorelDraw等软件对多种不同类型的图进行拼接的。那么,利用Origin软件能否实..._origin怎么把三个图做到一张图上
51单片机智能电风扇控制系统proteus仿真设计( 仿真+程序+原理图+报告+讲解视频)_电风扇模拟控制系统设计-程序员宅基地
文章浏览阅读4.2k次,点赞4次,收藏51次。51单片机智能电风扇控制系统仿真设计( proteus仿真+程序+原理图+报告+讲解视频)仿真图proteus7.8及以上 程序编译器:keil 4/keil 5 编程语言:C语言 设计编号:S0042。_电风扇模拟控制系统设计